Uncategorized

Uncategorized

How to Turn a Logo Into an Embroidery Design

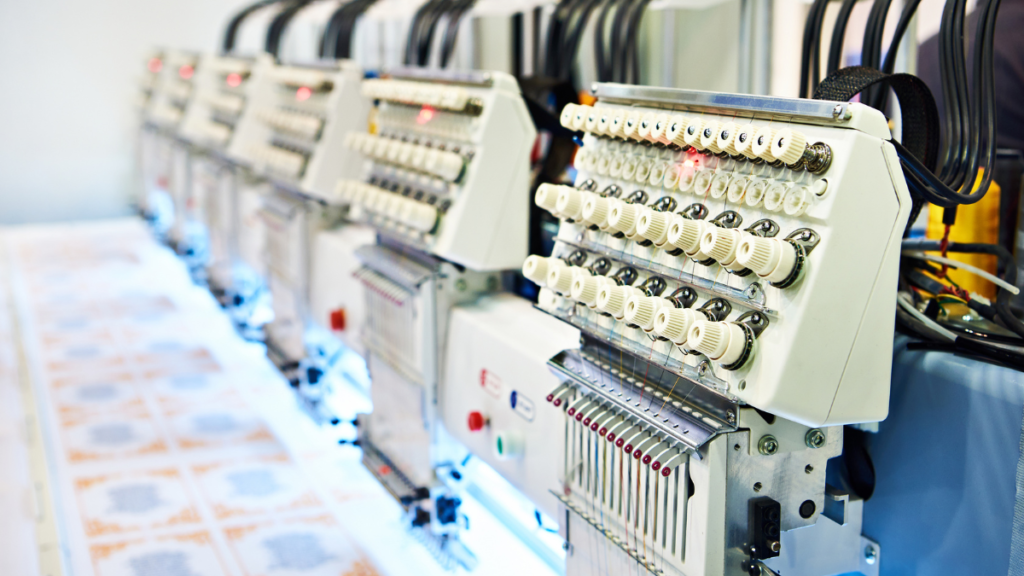
A business logo can look great on a website or printed material, but using the same logo for embroidery requires a different type of file. To embroider a logo, the artwork needs to be converted into a stitch-based embroidery file that an embroidery machine can read. This process is known as embroidery digitizing. Step 1: Prepare Your Logo Start with the clearest version of your logo available. A high-quality image or vector file can make it easier to identify the logo’s shapes, text, colors, and other details. Common file types include: If you only have a low-resolution image, it may still be possible to digitize it, although additional preparation may be required. Step 2: Decide Where the Logo Will Be Embroidered The location of the logo affects the design requirements. A logo for a shirt may have different requirements from a logo intended for a cap, jacket, uniform, or bag. Tell your digitizer where the logo will be used so the embroidery file can be prepared appropriately. Step 3: Choose the Final Embroidery Size The intended size is an important part of embroidery digitizing. A logo that works well at a large size may need adjustments when embroidered at a smaller size. Small text and fine lines can become difficult to reproduce clearly. Providing the exact or approximate size helps the digitizer plan the design correctly. Step 4: Consider the Fabric The fabric also affects how a logo should be digitized. Cotton, denim, jackets, caps, uniforms, and stretch fabrics can all have different embroidery requirements. Providing the fabric information helps determine suitable settings for the design. Step 5: Convert the Artwork Into Stitches This is the main part of the embroidery digitizing process. The logo is recreated using different types of embroidery stitches. The digitizer determines how each part of the design should be stitched and sets the appropriate stitch direction, density, sequence, and other technical settings. Step 6: Adjust Small Details Not every detail in a digital logo can be reproduced exactly with thread, especially when the design is small. Tiny text, thin lines, and very small shapes may need to be simplified or adjusted while keeping the overall appearance of the logo recognizable. Step 7: Choose the Required File Format Once the design has been digitized, it needs to be saved in a format supported by the embroidery machine. Common embroidery formats include: The correct format depends on the machine being used. Step 8: Review the Digitized Design Before production, the embroidery file should be reviewed to identify possible issues with stitch placement, density, sequence, or small details. Testing the design can also help determine whether further adjustments are required. Why Professional Logo Digitizing Matters Simply converting a logo into an embroidery file does not guarantee a good result. Embroidery requires careful planning because the design must be recreated using thread rather than pixels. Professional digitizing considers the logo, size, fabric, stitch types, density, and machine requirements together. Turn Your Logo Into an Embroidery-Ready File If you have a business logo that you want to embroider on shirts, uniforms, caps, jackets, bags, or other products, professional digitizing can turn your artwork into a machine-ready embroidery design. At Embroidery Expert, we provide custom embroidery digitizing services for businesses, brands, clothing, uniforms, caps, and personal projects. Send us your logo and project requirements to get started. Email: embroideryexpert769@gmail.comPhone: 03267282136
Uncategorized

Choosing the Right Embroidery Design for Different Fabrics

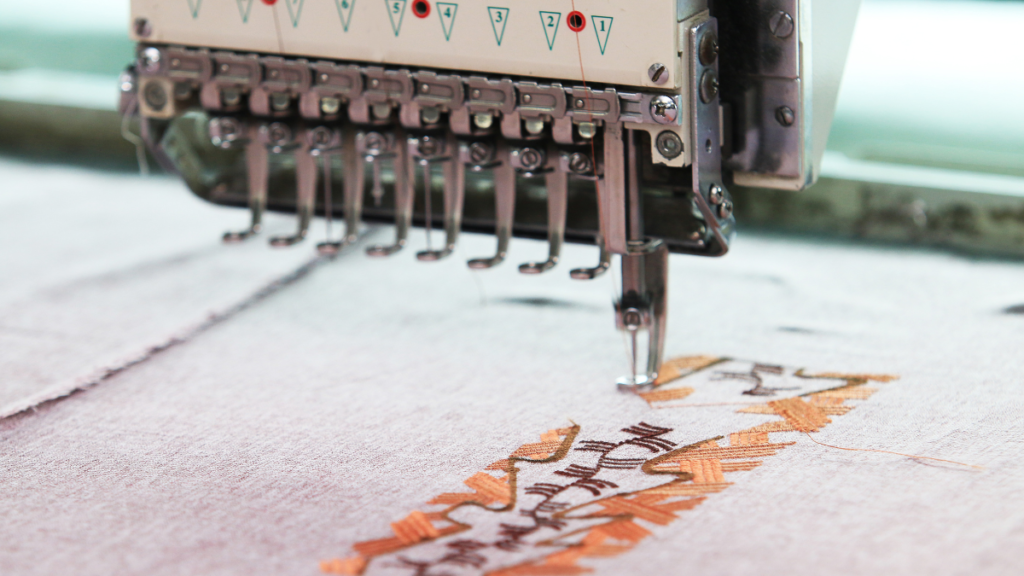
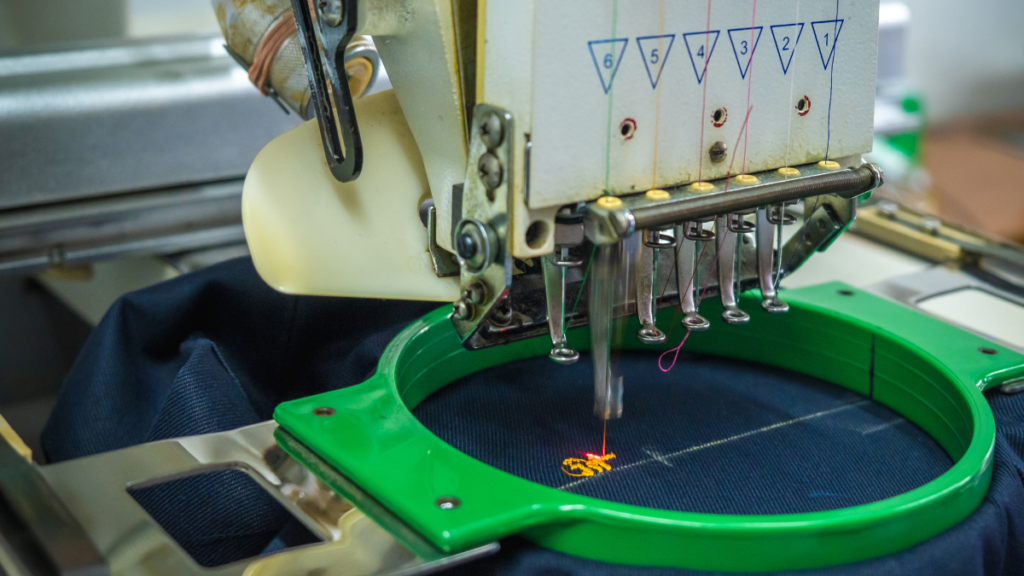
Embroidery can be applied to many different types of fabrics, but the same digitized design may not perform exactly the same way on every material. Fabric type, thickness, stretch, and stability can all affect how embroidery looks and behaves. For this reason, choosing and preparing the right embroidery design for the intended fabric is an important part of the digitizing process. Why Does Fabric Matter in Embroidery? During embroidery, the fabric is held in place while the needle and thread pass through it repeatedly. Different materials react differently to this process. For example, a lightweight fabric may require different support from a thick or stable material. Stretchy fabrics can also require additional consideration to help maintain the shape of the design. Professional digitizing takes these differences into account. Embroidery on Cotton Cotton is commonly used for shirts, uniforms, and other garments. For cotton fabrics, the embroidery design should be properly planned to achieve good coverage without unnecessarily adding excessive stitches. Simple logos, text, and medium-detail designs can work well when properly digitized. Embroidery on Denim Denim is a thicker and more stable fabric commonly used for jeans, jackets, and workwear. Larger logos and bold designs can often work well on denim. The digitizing approach should still consider the thickness of the material and the intended design size. Embroidery on Caps Caps can present different challenges because of their curved shape and limited embroidery area. Designs intended for caps should be digitized specifically for the available space. Very small text and excessive detail may need to be simplified to maintain clarity. Embroidery on Jackets Jackets can be made from a variety of materials, including heavier fabrics. The design size, stitch density, and placement should be considered carefully to create a balanced embroidery result without unnecessary thread buildup. Embroidery on Stretch Fabrics Stretchable materials require careful digitizing because the fabric can move or stretch during embroidery. Appropriate underlay, density, stitch direction, and other settings can help provide better stability. Embroidery on Lightweight Fabrics Lightweight fabrics require special attention because excessive stitching can cause the material to become distorted or pulled. A suitable design with balanced stitch density and proper support can help reduce unnecessary stress on the fabric. Consider the Design Size Fabric is not the only factor to consider. The size of the embroidery design also affects the digitizing process. A large design may allow more detail, while a small design may require simplification of fine lines, small text, and other elements. Consider the Type of Design Different designs may require different digitizing techniques. For example: Why Professional Digitizing Helps Professional embroidery digitizing considers the relationship between the design, fabric, size, and intended application. Instead of using exactly the same settings for every project, the digitizer can adjust the file according to the specific embroidery requirements. Get Your Design Ready for Any Fabric Whether you need embroidery for shirts, uniforms, caps, jackets, bags, or other products, proper preparation can make a significant difference in the final result. At Embroidery Expert, we provide custom embroidery digitizing services and prepare designs according to the specific requirements of each project. Send us your artwork and tell us what fabric or product you plan to embroider. Email: embroideryexpert769@gmail.comPhone: 03267282136
Uncategorized

How Stitch Density Affects Embroidery Quality

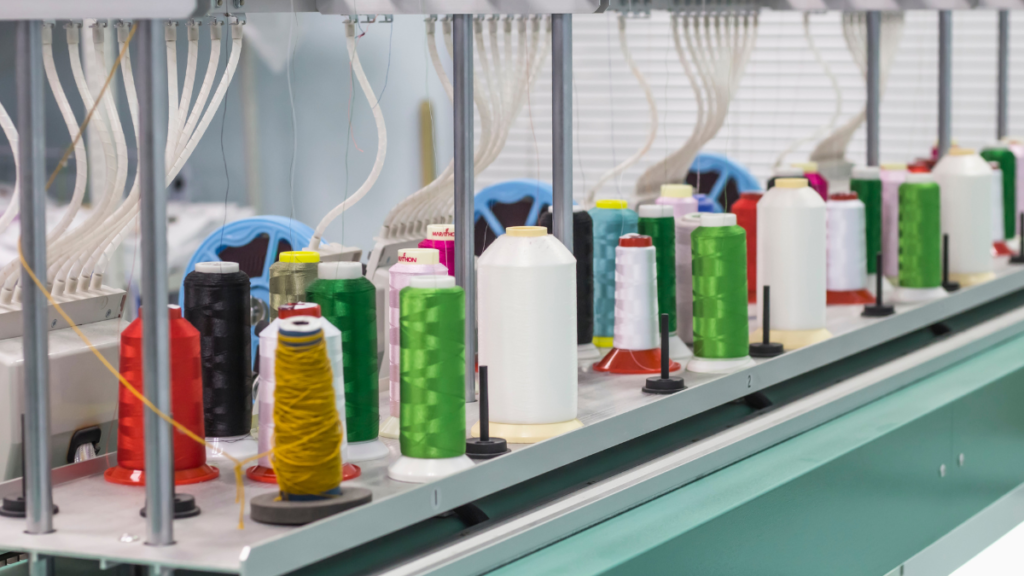
Stitch density is one of the most important factors in embroidery digitizing. It refers to how closely stitches are placed within a particular area of an embroidery design. The right stitch density can help create clean coverage and a balanced appearance, while incorrect density can cause problems with the design, fabric, and overall embroidery result. What Is Stitch Density? Stitch density describes the concentration of stitches in a specific area of an embroidery design. When a design is digitized, the digitizer determines how many stitches are needed to properly cover each section. The appropriate density depends on several factors, including the stitch type, design size, fabric, and intended application. What Happens When Stitch Density Is Too High? Using too many stitches in a small area can create several problems. Excessive density may result in: Adding more stitches does not automatically mean better embroidery. The goal is to achieve suitable coverage without creating unnecessary stitching. What Happens When Stitch Density Is Too Low? If stitch density is too low, the design may not provide enough coverage. Possible results include: The correct balance is important for creating a clean and professional result. Factors That Affect Stitch Density Fabric Type Different fabrics require different approaches. Lightweight, stretchy, thick, and stable materials can behave differently during embroidery. Design Size A design that is reduced to a small size may require different digitizing decisions compared with a larger version of the same artwork. Stitch Type Satin stitches, fill stitches, and running stitches have different characteristics and are used for different areas of a design. Design Details Detailed artwork, lettering, curves, and small shapes may require careful density adjustments to maintain clarity. Stitch Density and Embroidery Appearance Stitch density can affect the overall texture and appearance of embroidery. Balanced density can help create smooth fills, clear shapes, and consistent coverage. Incorrect density can make some areas appear too heavy while others may look thin. This is why density should be considered as part of the complete digitizing process rather than as an isolated setting. How Professional Digitizers Manage Density A professional digitizer evaluates the design and considers factors such as fabric, size, stitch type, and application before setting the appropriate density. Other settings, including underlay and stitch direction, may also work together with density to improve the stability and appearance of the design. Does Every Design Need the Same Density? No. There is no single stitch density that works perfectly for every embroidery design. Two designs can require different settings even if they are the same size. The artwork, fabric, stitch type, and intended use all influence the final digitizing decisions. Why Proper Digitizing Matters Good embroidery is not simply about adding more stitches. It is about using the right stitches in the right places and creating a balanced file that works with the intended material and embroidery machine. Professional embroidery digitizing helps ensure that stitch density and other technical settings are considered before the design reaches production. Get Your Design Professionally Digitized At Embroidery Expert, we provide custom embroidery digitizing services for logos, artwork, clothing, uniforms, caps, and other embroidery projects. Send us your design and requirements to get started. Email: embroideryexpert769@gmail.comPhone: 03267282136
Uncategorized

Common Embroidery Digitizing Mistakes and How to Avoid Them

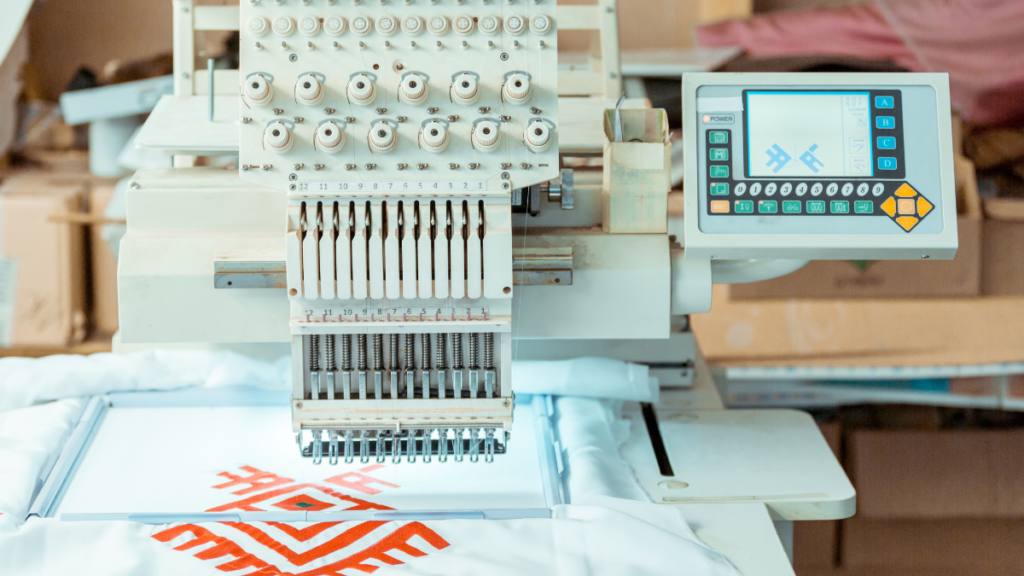
Professional embroidery starts with a properly prepared digitized design. When an embroidery file is not created correctly, the final stitched result can have problems such as uneven coverage, excessive thread buildup, poor details, or stitching issues. Understanding common embroidery digitizing mistakes can help you avoid problems and achieve better results. 1. Using Too Much Stitch Density One common mistake is adding too many stitches to a design. Excessive stitch density can create heavy areas, increase thread buildup, and make the fabric less comfortable or flexible. How to avoid it: Use an appropriate stitch density based on the design, size, and fabric. 2. Using Too Little Stitch Density The opposite problem can also occur. If there are not enough stitches, the fabric may show through the design or some areas may not have proper coverage. How to avoid it: Balance stitch density according to the specific area and material. 3. Ignoring the Fabric Type Different fabrics respond differently to embroidery. A design that works well on one material may require adjustments for another. How to avoid it: Consider the fabric and intended application before finalizing the digitizing settings. 4. Making Small Details Too Detailed Very small text, thin lines, and tiny design elements can be difficult to reproduce with thread. Trying to keep every tiny detail exactly as it appears in a digital image can sometimes reduce the quality of the finished embroidery. How to avoid it: Simplify or adjust very small elements where necessary while maintaining the overall appearance of the design. 5. Incorrect Stitch Direction Stitch direction affects the texture, shape, and visual appearance of an embroidered design. Poorly planned stitch angles can make certain areas look uneven or less defined. How to avoid it: Plan stitch directions according to the shapes and structure of the design. 6. Poor Stitch Sequence The order in which different parts of a design are stitched can affect the final result and production efficiency. How to avoid it: Plan the stitch sequence carefully to reduce unnecessary movement and help maintain a clean design. 7. Incorrect Underlay Underlay stitches provide support beneath the visible stitches. Incorrect or missing underlay can affect stability and coverage. How to avoid it: Select an appropriate underlay based on the design, fabric, and embroidery application. 8. Ignoring Pull Compensation During embroidery, fabric and stitches can move or pull in different directions. Pull compensation helps account for these effects. How to avoid it: Apply suitable compensation settings during the digitizing process. 9. Not Considering the Final Design Size A design that looks good at a large size may not work the same way when reduced significantly. Small embroidery requires careful planning because details and lettering have less space to reproduce. How to avoid it: Digitize with the actual intended embroidery size in mind. 10. Skipping Testing and Review A design may look correct in embroidery software but still behave differently when stitched onto fabric. How to avoid it: Review and, when appropriate, test the design before full production. Why Professional Digitizing Matters Many embroidery problems can be prevented through careful planning and professional digitizing. Stitch density, direction, sequence, underlay, fabric, and design size all need to work together. A properly prepared embroidery file can help reduce production problems and create a cleaner final result. Get Professional Embroidery Digitizing At Embroidery Expert, we provide custom embroidery digitizing services for logos, artwork, uniforms, clothing, caps, and other embroidery projects. If you have a design that needs professional digitizing, send us your artwork and project requirements. Email: embroideryexpert769@gmail.comPhone: 03267282136
Uncategorized

How to Choose the Right Embroidery File Format

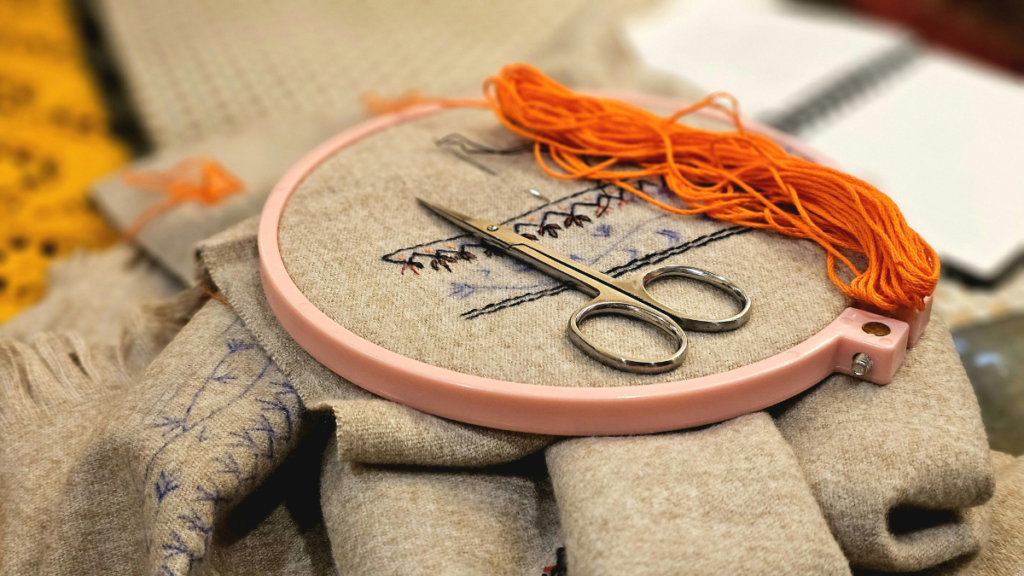
Choosing the correct embroidery file format is an important part of preparing a design for machine embroidery. Different embroidery machines use different file formats, so the required format depends on the machine that will be used for production. A professionally digitized design can be prepared in the appropriate format once the machine requirements are known. What Is an Embroidery File Format? An embroidery file contains the instructions an embroidery machine needs to create a design with thread. It can include information such as stitch type, stitch sequence, stitch direction, density, and other settings. Different embroidery machine brands and models may require different file formats. Common Embroidery File Formats DST DST is one of the most widely used embroidery file formats and is commonly supported by many commercial embroidery machines. It is often requested for professional embroidery production. PES PES is commonly associated with Brother embroidery machines and is widely used for embroidery projects. If you are using a compatible Brother machine, PES may be the required format. JEF JEF is commonly used with Janome embroidery machines. If your machine requires this format, the digitized design should be prepared accordingly. EXP EXP is another embroidery format used by certain embroidery machines and systems. The exact requirements can depend on the machine and software being used. How Do You Know Which Format You Need? The easiest way to determine the correct format is to check your embroidery machine’s documentation or ask the person operating the machine. You can also provide the machine brand and model to your digitizer so the appropriate file format can be prepared. Why the Correct Format Matters An embroidery design can be professionally digitized but still fail to load correctly if it is saved in a format that your machine does not support. Providing the correct file format helps ensure that the design is ready for the intended embroidery system. Does the File Format Affect Design Quality? The file format itself is only one part of the process. The quality of the embroidery also depends heavily on how the design has been digitized. Important factors include: Professional digitizing combines these settings with the appropriate machine format. What Information Should You Provide? When requesting embroidery digitizing, it is helpful to provide: The more information you provide, the easier it is to prepare the file according to your project requirements. Can One Design Have Multiple Formats? Yes. A single digitized design can often be exported into different machine-compatible formats, depending on the embroidery software and the requirements of the machines being used. For example, you may need a DST file for one machine and a PES file for another. However, the design should be properly checked for the intended machine and application rather than relying only on file conversion. Get the Right Embroidery File for Your Project Whether you need a logo for a uniform, cap, jacket, shirt, or other embroidered product, choosing the appropriate file format is an important step. At Embroidery Expert, we provide custom embroidery digitizing services and can prepare designs according to your embroidery requirements. Email: embroideryexpert769@gmail.comPhone: 03267282136
Uncategorized

Why Professional Embroidery Digitizing Matters for Quality Results

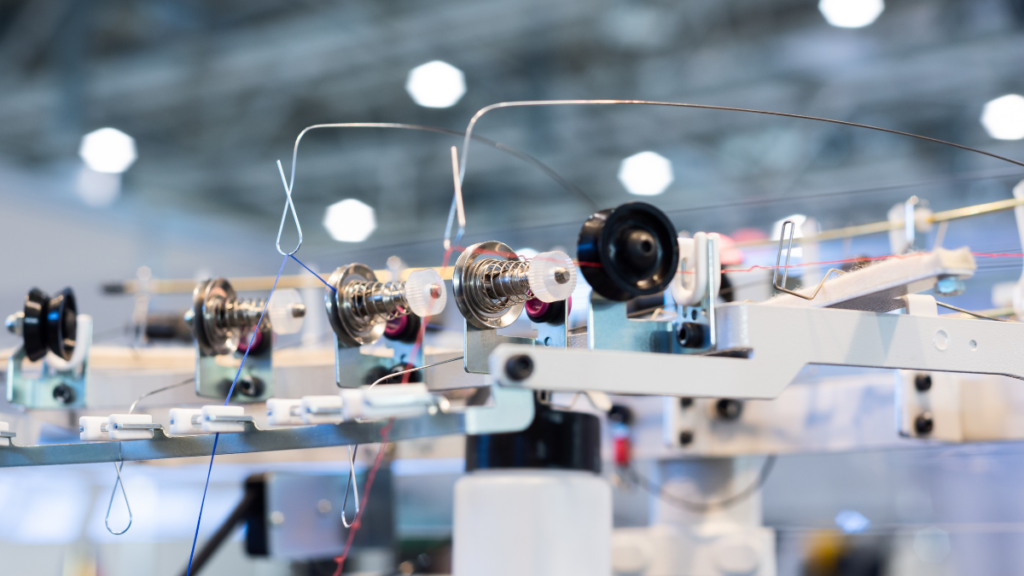
A good embroidery result starts with a properly digitized design. While an image or logo may look clear on a computer screen, embroidery requires much more than simply converting an image into a machine file. Professional embroidery digitizing involves planning stitches, directions, density, sequence, and other technical details so the design can be embroidered properly on fabric. What Makes Professional Digitizing Important? Embroidery machines follow the instructions contained in the digitized file. If those instructions are not prepared correctly, the final embroidery may have uneven coverage, unnecessary thread buildup, gaps, or unclear details. Professional digitizing helps prepare the design according to its intended size, fabric, and application. Better Stitch Placement Every part of an embroidery design needs appropriate stitch placement. Professional digitizing considers how stitches should be positioned to create clean shapes and defined details. Proper stitch planning can help the design maintain its appearance during embroidery. Appropriate Stitch Density Stitch density refers to how closely stitches are placed together. Too many stitches can create excessive thread buildup and make the design heavier than necessary. Too few stitches can result in poor coverage or visible gaps. A properly digitized design uses suitable density for the specific design and application. Clean and Accurate Details Small text, thin lines, curves, and detailed artwork can be challenging to reproduce through embroidery. Professional digitizing considers the limitations of embroidery and adjusts the design where necessary while maintaining its overall appearance. Suitable Stitch Types Different areas of a design may require different stitch types. Common embroidery stitches include: Selecting the appropriate stitch type for each area can improve the appearance and structure of the finished embroidery. Better Results on Different Fabrics Embroidery can be applied to many different materials, including shirts, uniforms, jackets, caps, bags, and other products. Different fabrics can behave differently during stitching. Professional digitizing takes the intended fabric and application into consideration when preparing the embroidery file. Proper Stitch Sequence The order in which different parts of a design are embroidered can affect the final result. A carefully planned stitch sequence can help reduce unnecessary movement, improve efficiency, and maintain a cleaner finished design. Professional Digitizing Saves Time Using a properly prepared embroidery file can reduce the need for repeated adjustments during production. A professional digitized design is created with the embroidery process in mind, making it easier to move from artwork to actual stitching. Professional vs. Basic Conversion Simply converting an image into an embroidery format does not automatically create a quality embroidery design. Professional digitizing requires decisions about stitch types, density, direction, sequence, underlay, and other technical settings. This is why professional embroidery digitizing is important for businesses and individuals who want consistent embroidery results. Get Your Design Professionally Digitized Whether you need a business logo, uniform design, cap artwork, or custom embroidery design, proper digitizing is an important part of the process. At Embroidery Expert, we provide custom embroidery digitizing services focused on accurate, clean, and embroidery-ready designs. Send us your artwork and requirements to get started. Email: embroideryexpert769@gmail.comPhone: 03267282136
Uncategorized

Embroidery Digitizing vs. Vectorization: What Is the Difference?

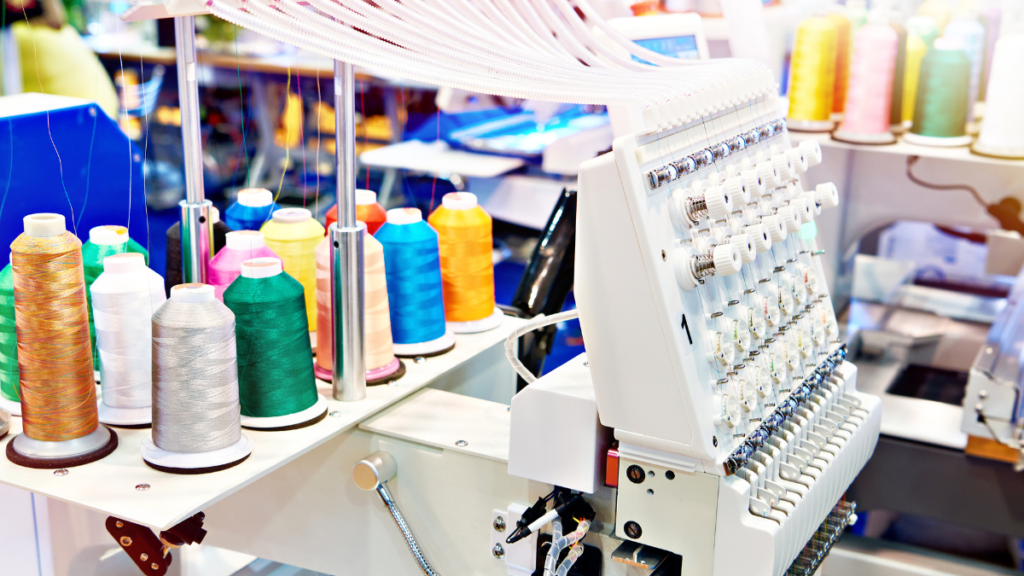
Embroidery digitizing and vectorization are two different processes that are often confused with each other. Both can be used when preparing artwork for professional production, but they create different types of files and serve different purposes. Understanding the difference can help you choose the right service for your project. What Is Embroidery Digitizing? Embroidery digitizing is the process of converting artwork, logos, or designs into a digital embroidery file that an embroidery machine can read. Instead of creating lines and shapes like a normal image, a digitized embroidery file contains information about stitches, stitch direction, density, sequence, and other settings required for machine embroidery. The final file is specifically prepared for stitching onto fabric. What Is Vectorization? Vectorization is the process of converting an image into a vector-based graphic. Vector graphics are created using mathematical paths rather than fixed pixels. This allows the artwork to be resized without losing its basic sharpness or quality. Common vector file formats include: Vector files are commonly used for printing, branding, signage, graphic design, and other applications. Key Difference Between the Two The main difference is their purpose. Vectorization creates scalable graphic artwork. Embroidery digitizing creates a stitch-based file for an embroidery machine. A vector logo can be resized and used for different graphic applications, but it cannot normally be sent directly to an embroidery machine without being digitized. Can a Vector File Be Digitized? Yes. A vector file can often provide a clean starting point for embroidery digitizing. Because vector artwork usually contains clearly defined shapes and paths, it can make it easier to understand the structure of a logo or design. However, simply converting a vector file into an embroidery format is not enough. The artwork still needs to be properly planned and converted into suitable embroidery stitches. Why Does Embroidery Need Special Preparation? Embroidery is different from digital graphics because the design must be physically created with thread. A digitizer needs to consider factors such as: These factors can affect how the final design looks and performs when embroidered. Example: A Business Logo Imagine you have a company logo in SVG or AI format. The vector file is useful for maintaining the logo’s graphic quality and can be used for printing or other digital applications. If you want the same logo embroidered on a uniform or cap, the logo needs to be professionally digitized into a suitable embroidery file. The digitizer will determine how the shapes, text, and other elements should be created with stitches. Which One Do You Need? The answer depends on how you plan to use your design. Choose vectorization when you need scalable graphic artwork for applications such as printing, branding, or digital design. Choose embroidery digitizing when you need a design prepared for machine embroidery. In some projects, you may need both services. A vector version can be useful for graphic applications, while a digitized version is needed for embroidery production. Get Professional Embroidery Digitizing Having the right file is an important part of achieving a professional result. If you have a logo or artwork that needs to be embroidered, professional digitizing can convert your design into a machine-ready embroidery file. At Embroidery Expert, we provide custom embroidery digitizing services for logos, clothing, uniforms, caps, and other embroidery projects. Email: embroideryexpert769@gmail.comPhone: 03267282136
Uncategorized

How to Prepare Your Logo for Embroidery Digitizing

A logo is one of the most common designs used for embroidery. Whether it is placed on uniforms, shirts, jackets, caps, bags, or promotional products, a properly prepared logo can make the digitizing process easier and help achieve a clean embroidery result. Before sending your logo for embroidery digitizing, there are a few important things to consider. Start With the Best Available Artwork Whenever possible, provide the highest-quality version of your logo. Clear artwork makes it easier to identify shapes, text, colors, and other important details. Common logo files include: Even if you only have a low-resolution image, it may still be possible to digitize it. However, a clearer original design can make the process more accurate. Keep the Original Logo Design Clear Before digitizing, make sure your logo contains the correct: If changes are needed, it is better to finalize the artwork before the embroidery digitizing process begins. Consider the Final Embroidery Size The size of your logo can affect how much detail can be included in the embroidery. A design intended for a large jacket may support more detail than a very small logo placed on a shirt or cap. For this reason, always provide the intended embroidery size when requesting custom digitizing. Think About the Fabric Different fabrics can affect how embroidery appears. Cotton, denim, jackets, caps, uniforms, and other materials may require different digitizing settings. Providing information about the fabric and where the logo will be embroidered can help the digitizer prepare the file appropriately. Avoid Unnecessary Small Details Very small text, thin lines, and tiny design elements may not reproduce clearly when converted into embroidery. During the digitizing process, some small details may need to be simplified or adjusted while maintaining the overall appearance of the original logo. Provide Your Required File Format Embroidery machines use different file formats. Some commonly used formats include DST, PES, EXP, and JEF. If you already know the embroidery machine or file format required for your project, provide that information before digitizing begins. Tell the Digitizer How the Logo Will Be Used Providing additional information can help with the preparation of your embroidery file. For example, let the digitizer know if the logo will be used on: The intended application can influence how the design is digitized. Why Professional Digitizing Matters A logo may look perfect on a computer screen but still require careful planning for embroidery. Stitch direction, density, underlay, pull compensation, and other technical settings all affect the final result. Professional embroidery digitizing converts the logo into a machine-readable file while considering these important factors. Get Your Logo Ready for Embroidery Have a logo that you want to embroider? Send your artwork along with the required size, fabric, and file format information. At Embroidery Expert, we provide custom embroidery digitizing services for business logos, uniforms, clothing, caps, and other embroidery projects. Email: embroideryexpert769@gmail.comPhone: 03267282136
Uncategorized

Custom Embroidery Digitizing: Everything You Need to Know

Custom embroidery digitizing is the process of converting your logo, artwork, or custom design into a digital embroidery file that can be used by an embroidery machine. A standard image cannot be directly stitched onto fabric. It needs to be converted into stitch-based instructions that tell the embroidery machine how to recreate the design. This is where professional embroidery digitizing becomes important. What Is Custom Embroidery Digitizing? Custom embroidery digitizing involves creating a unique embroidery file based on a specific design. Unlike ready-made embroidery patterns, custom digitized designs are prepared according to the artwork, size, fabric, and intended use. The digitizer decides how different areas of the design should be stitched and selects suitable stitch types, directions, and densities. Why Choose Custom Digitizing? Every design has different requirements. A business logo, clothing design, cap logo, and detailed artwork may all require different digitizing techniques. Custom digitizing helps ensure that the embroidery file is created specifically for the intended application. Some important benefits include: How Does Custom Embroidery Digitizing Work? Design Review The original artwork is first reviewed to understand its shapes, colors, details, and overall structure. Stitch Planning The design is divided into different sections and appropriate stitch types are selected for each area. Stitch Direction Stitch directions are planned to help create clean shapes and a professional appearance. Density and Underlay Stitch density and underlay settings are adjusted according to the design and fabric requirements. These settings can help improve coverage and stability during embroidery. Final Adjustments The completed file is reviewed and adjusted where necessary before being prepared for production. What Can Be Custom Digitized? Custom embroidery digitizing can be used for many different types of designs, including: The Importance of Fabric and Design Size The same embroidery design may need different settings depending on where it will be stitched. For example, a design intended for a cap may require different stitch planning from a design intended for a shirt or jacket. Similarly, very small designs require careful handling because excessive detail may not reproduce properly at a smaller size. Professional digitizing takes these factors into consideration when preparing the embroidery file. Choosing the Right Embroidery File Format Embroidery machines use different file formats. Common formats include DST, PES, EXP, and JEF. The correct format depends on the embroidery machine being used. Before placing an order, it is helpful to provide the required file format along with your design requirements. Professional Custom Embroidery Digitizing A properly digitized design can make a significant difference in the final embroidery result. Careful stitch planning, suitable density, and accurate design preparation help create a file that is ready for machine embroidery. At Embroidery Expert, we provide custom embroidery digitizing services for logos, artwork, clothing, uniforms, caps, and other embroidery projects. If you have a design that needs to be converted into an embroidery-ready file, get in touch with us. Email: embroideryexpert769@gmail.comPhone: 03267282136

Uncategorized

What Is Embroidery Digitizing and How Does It Work?

Embroidery digitizing is the process of converting a logo, artwork, or design into a digital embroidery file that an embroidery machine can read and stitch onto fabric. Unlike a regular image file, an embroidery machine needs specific instructions that tell it where to stitch, which stitch type to use, and how the design should be created. Professional embroidery digitizing transforms your artwork into these machine-readable instructions. What Is Embroidery Digitizing? Embroidery digitizing converts a digital image into a series of stitches. During the process, the design is carefully analyzed and different areas are assigned suitable stitch types, directions, and densities. The goal is to create an embroidery file that reproduces the original design as accurately and cleanly as possible when stitched onto fabric. How Does Embroidery Digitizing Work? The digitizing process generally involves several important steps. 1. Design Preparation The original logo or artwork is reviewed before digitizing begins. The design may need adjustments based on its size, details, colors, and the type of fabric where it will be embroidered. 2. Creating Stitch Patterns Different parts of the design are converted into appropriate stitch patterns. Common stitch types include satin stitches, fill stitches, and running stitches. Each stitch type has a specific purpose and helps achieve the desired appearance. 3. Setting Stitch Direction Stitch direction plays an important role in the final appearance of an embroidered design. Proper stitch angles can help create better shapes, texture, and visual definition. 4. Adjusting Stitch Density Stitch density determines how closely the stitches are placed together. The correct density helps prevent problems such as excessive thread buildup, gaps, or poor coverage. 5. Adding Necessary Adjustments Professional digitizing may include adjustments for fabric type, design size, pull compensation, underlay, and other embroidery requirements. These settings help the design perform better during actual stitching. 6. Testing and Finalizing the File After digitizing, the file can be reviewed or tested to identify potential issues. Final adjustments are then made before the embroidery file is delivered. Why Is Professional Digitizing Important? A high-quality image does not automatically produce high-quality embroidery. Embroidery requires specific technical settings that are not present in a standard JPG, PNG, or other image file. Professional embroidery digitizing helps ensure that the design is properly prepared for machine embroidery and maintains clean details, suitable stitch placement, and balanced coverage. What Designs Can Be Digitized? Many different types of artwork can be converted into embroidery designs, including: The final result depends on factors such as the original artwork, design size, level of detail, fabric, and embroidery requirements. Common Embroidery File Formats Different embroidery machines may require different file formats. Some commonly used formats include DST, PES, EXP, JEF, and other machine-specific formats. The required format should always be confirmed based on the embroidery machine being used. Get Professional Embroidery Digitizing Whether you need a business logo digitized or have a custom design for embroidery, professional digitizing can help turn your artwork into a machine-ready embroidery file. At Embroidery Expert, we provide custom embroidery digitizing services focused on clean, accurate, and production-ready designs. Need your design digitized? Contact us today: Email: embroideryexpert769@gmail.comPhone: 03267282136

Scroll to Top