How to Turn a Logo Into an Embroidery Design
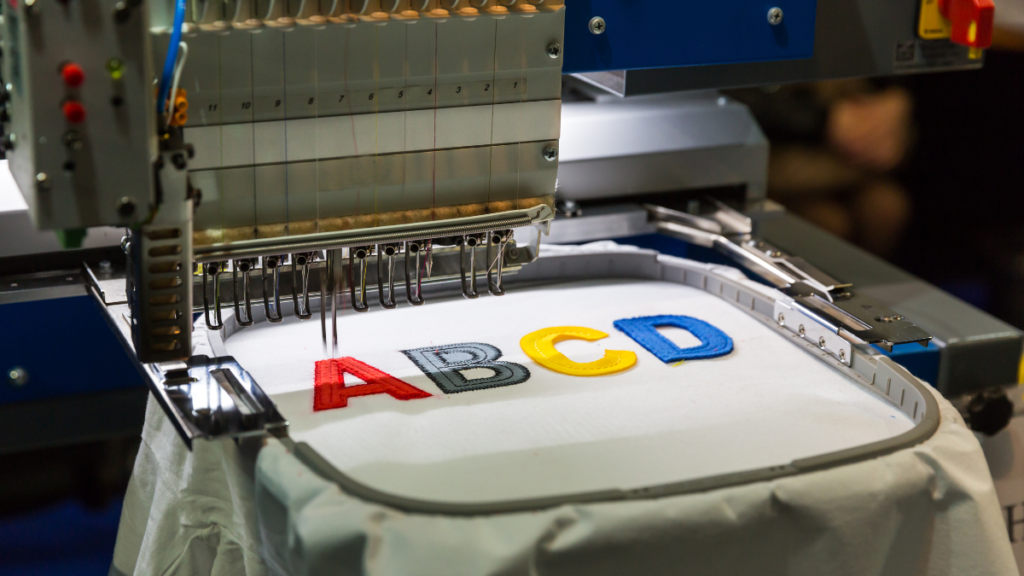
A business logo can look great on a website or printed material, but using the same logo for embroidery requires a different type of file. To embroider a logo, the artwork needs to be converted into a stitch-based embroidery file that an embroidery machine can read. This process is known as embroidery digitizing. Step 1: Prepare Your Logo Start with the clearest version of your logo available. A high-quality image or vector file can make it easier to identify the logo’s shapes, text, colors, and other details. Common file types include: If you only have a low-resolution image, it may still be possible to digitize it, although additional preparation may be required. Step 2: Decide Where the Logo Will Be Embroidered The location of the logo affects the design requirements. A logo for a shirt may have different requirements from a logo intended for a cap, jacket, uniform, or bag. Tell your digitizer where the logo will be used so the embroidery file can be prepared appropriately. Step 3: Choose the Final Embroidery Size The intended size is an important part of embroidery digitizing. A logo that works well at a large size may need adjustments when embroidered at a smaller size. Small text and fine lines can become difficult to reproduce clearly. Providing the exact or approximate size helps the digitizer plan the design correctly. Step 4: Consider the Fabric The fabric also affects how a logo should be digitized. Cotton, denim, jackets, caps, uniforms, and stretch fabrics can all have different embroidery requirements. Providing the fabric information helps determine suitable settings for the design. Step 5: Convert the Artwork Into Stitches This is the main part of the embroidery digitizing process. The logo is recreated using different types of embroidery stitches. The digitizer determines how each part of the design should be stitched and sets the appropriate stitch direction, density, sequence, and other technical settings. Step 6: Adjust Small Details Not every detail in a digital logo can be reproduced exactly with thread, especially when the design is small. Tiny text, thin lines, and very small shapes may need to be simplified or adjusted while keeping the overall appearance of the logo recognizable. Step 7: Choose the Required File Format Once the design has been digitized, it needs to be saved in a format supported by the embroidery machine. Common embroidery formats include: The correct format depends on the machine being used. Step 8: Review the Digitized Design Before production, the embroidery file should be reviewed to identify possible issues with stitch placement, density, sequence, or small details. Testing the design can also help determine whether further adjustments are required. Why Professional Logo Digitizing Matters Simply converting a logo into an embroidery file does not guarantee a good result. Embroidery requires careful planning because the design must be recreated using thread rather than pixels. Professional digitizing considers the logo, size, fabric, stitch types, density, and machine requirements together. Turn Your Logo Into an Embroidery-Ready File If you have a business logo that you want to embroider on shirts, uniforms, caps, jackets, bags, or other products, professional digitizing can turn your artwork into a machine-ready embroidery design. At Embroidery Expert, we provide custom embroidery digitizing services for businesses, brands, clothing, uniforms, caps, and personal projects. Send us your logo and project requirements to get started. Email: embroideryexpert769@gmail.comPhone: 03267282136